3.2″ Touch Display Quick Guide
The Waveshare/Joy-IT 3.2″ touch display for Raspberry Pi is well suited for embedded applications that require a dynamic but small user interface. This article describes the steps required to get it working with Jessie, X and Python.
Preface
This is more for myself to document the steps necessary to connect and install my 3.2″ touch display to my Raspberry. Nothing new here you would not find somewhere else also.
The device
The 3.2″ touch display has a resolution of 320×200 pixels and comes with a small plastic touch pen. I got mine from Conrad, but you find this kind of display at several dealers. Distrubutor is Joy-IT, and they maintain software and documentation here. They again seem to redistribute a display from Waveshare. It seems that there are also badly made clones of it – you need to look closely. The display connects to the “old” 26-pin header of the Raspberry, but works also with the 40-pin versions.
The device uses SPI to interface with the TFT display.
The documentation you find is not always complete, so here is how to get this thing up and running on Jessie. Good thing: It works with the official Raspbian image, no need to get some badly maintained image from the manufacturer or compile anything yourself.
Installing the display
In principle, this guide is nearly complete. Here’s the synopsis:
Get the driver:
|
1 2 3 4 |
sudo bash cd /boot/overlays wget http://www.joy-it.net/anleitungen/rpi/tft32b/waveshare32b-overlay.dtb mv waveshare32b-overlay.dtb waveshare32b.dtbo |
The last line is important, since with Jessie the overlay names changed.
Add to /boot/config.txt:
|
1 2 |
dtparam=spi=on dtoverlay=waveshare32b:rotate=270 |
Add to the single line in /boot/cmdline.txt:
|
1 |
fbcon=map:10 |
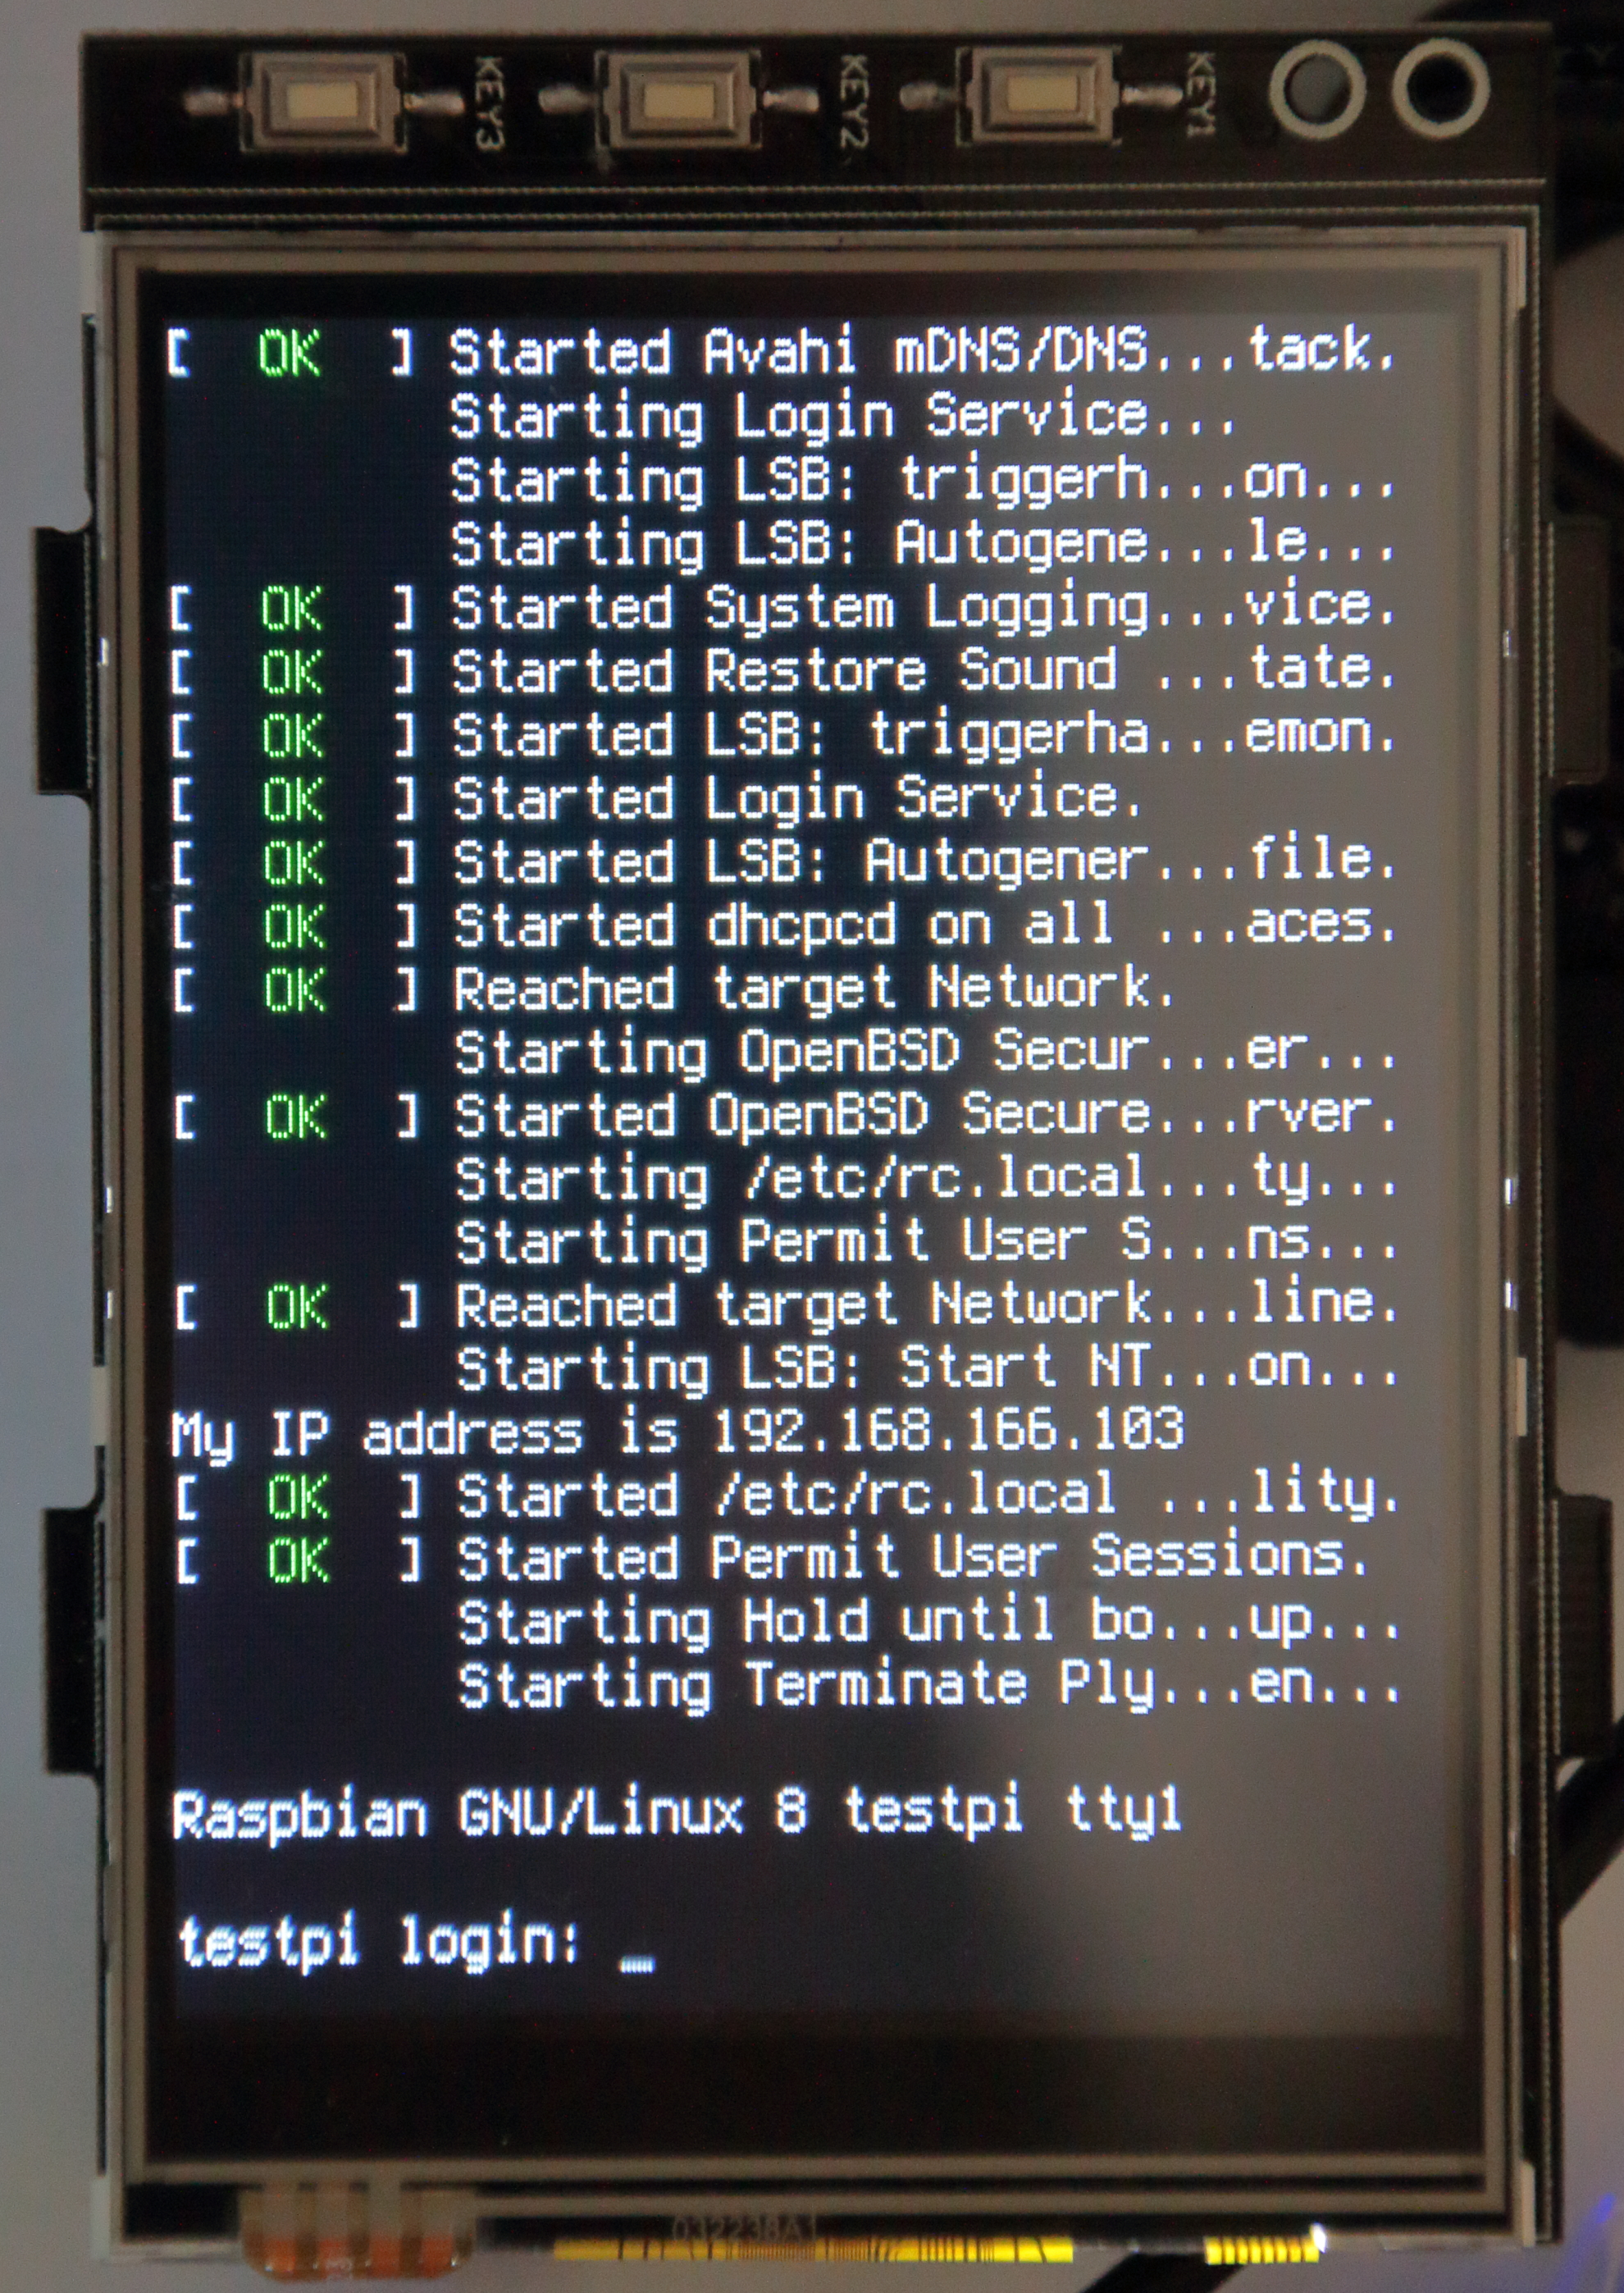
After reboot, some boot messages will still go to the default display, i.e. HDMI or composite video, but after a short while, you’ll see the console turning up on the display.
Setting up the X interface
To use the dispaly and the touch ability with the graphical desktop (which does not really make sense due to the tiny screen resolution), you need to edit (or create) /usr/share/X11/xorg.conf.d/99-calibration.conf:
|
1 2 3 4 5 6 |
Section "InputClass" Identifier "calibration" MatchProduct "ADS7846 Touchscreen" Option "Calibration" "160 3723 3896 181" Option "SwapAxes" "1" EndSection |
This is for 270° rotation. For all options available see here.
And in /usr/share/X11/xorg.conf.d/99-fbturbo.conf a line needs to be changed:
|
1 |
Option "fbdev" "/dev/fb1" |
Making the touchscreen available without X
Create the file /etc/udev/rules.d/95-ads7846.rules:
|
1 |
SUBSYSTEM=="input", KERNEL=="event[0-9]*", ATTRS{name}=="ADS7846 Touchscreen", SYMLINK+="input/touchscreen" |
After reboot, there should be /dev/input/touchscreen.
Touch as console mouse (not really…)
I could not find a way to make the touch screen work as a console mouse, but at least I could achieve that touching the display causes the screen to wake up from sleep/screen blanking. For this I installed gpm:
|
1 |
sudo apt-get install gpm |
This on the first glance seems to work, but it does not: The cursor does not follow the pen, because gpm does interpret the output as relative movement. Changing /etc/gpm.conf to:
|
1 2 3 4 5 6 |
device=/dev/input/touchscreen responsiveness= repeat_type=none type=evdev append='' sample_rate= |
makes the screen wake up on touch, but no erratic screen selections happen. I tried a number of the gpm devices listed when running
|
1 |
gpm -m /dev/input/touchscreen -t help |
but none seems to really work. If you know a way to make it work properly, please leave a comment! For my project, it’s currently not really relevant.
Optional (kind of): Calibrate touch
You may calibrate your screen:
|
1 2 3 |
sudo bash apt-get install libts-bin TSLIB_FBDEVICE=/dev/fb1 TSLIB_TSDEVICE=/dev/input/touchscreen ts_calibrate |
This will write /etc/pointerconf, containing values describing the touchscreen.
|
1 |
TSLIB_FBDEVICE=/dev/fb1 TSLIB_TSDEVICE=/dev/input/touchscreen ts_test |
lets you test the screen – you may even draw on it 🙂
This step is optional if you do not rotate the display. As soon as the display is roteted, the calibration in /etc/pointerconf will automagically take care of this rotation in programs – at least if they use tslib, among them the pygame library for Python. No idea currently what other software uses /etc/pointerconf.
Adjusting the console to the tiny resolution
The standard font does not let you see very much on the tiny screen. Run
|
1 |
sudo dpkg-reconfigure console-setup |
You’ll be guided through some menus. Pick
- Charset: “UTF-8”
- “Guess optimal character set”
- Pick the font face – I reccommend “Terminus”
- Pick the character size – I recommend “6×12”
You need a little patience, but then you’ll see the font change on the display.
Here’s the display in action on a Raspberry Pi Zero (please note: this is with “dtoverlay=waveshare32b:rotate=0” in /boot/config.txt):
GPIO availability
A drawback of the display is that it blocks the first 26 GPIO header pins. However, not all are used. According to the Conrad and Waveshare pages, this is the situation (GPIO assignment given for Rev 1 Pi):
| Pin # | Raspberry function | Display function | Pin # | Raspberry function | Display function |
| 1 | 3.3 V | 3.3 V | 2 | 5 V | 5 V |
| 3 | GPIO 2/I²C SDA | 4 | 5 V | 5V | |
| 5 | GPIO 3/I²C SCL | 6 | GND | GND | |
| 7 | GPIO 4 | 8 | GPIO 14/UART TxD | ||
| 9 | GND | GND | 10 | GPIO 15/UART RxD | |
| 11 | GPIO 17 | TP_IRQ – Touch Panel interrupt, low while touch detected | 12 | GPIO 18/PWM | Button 0/Key 1 |
| 13 | GPIO 27 | RST – Reset | 14 | GND | GND |
| 15 | GPIO 22 | DC – Instruction/Data Register selection | 16 | GPIO 23 | Button 1/Key 2 |
| 17 | 3.3 V | 3.3 V | 18 | GPIO 24 | Button 2/Key 3 |
| 19 | GPIO 10/SPI MOSI | MOSI | 20 | GND | GND |
| 21 | GPIO 9/SPI MISO | MISO | 22 | GPIO 25 | |
| 23 | GPIO 11/SPI SCK | SCK | 24 | GPIO 8/SPI CE0 | CE0 – LCD chip selection, low active |
| 25 | GND | GND | 26 | GPIO 7/SPI CE1 | CE1 – Touch Panel chip selection, low active |
Good: I²C and UART are unused and free. Bad: PWM is used for one of the hardware keys. And: No backlight control. There are other, similar displays that offer backlight control – if it is important to you, go look around.
Using with Python
Prerequisites for Jessie (as of March 2017)
Using the touchscreen with Jessie, Python and the pygame library is surprisingly complicated to get to work – this forum post finally helped me to get it running. Unless you run the following steps, the touchscreen readings are simply nonsense! Cause is a compatibility issue with the touchscreen, SDL and Jessie.
Necessary steps:
- Make the old Wheezy repository for the SDL library available to dpkg
- Switch SDL library to have the Wheezy archive as default repository
- Force downgrade to SDL 1.2
Here’s the way to go, copied 1:1 from above’s post by heine (line breaks are intentional!):
|
1 2 3 4 5 6 7 8 9 10 11 12 13 14 15 16 17 18 19 20 |
#enable wheezy package sources echo "deb http://archive.raspbian.org/raspbian wheezy main " > /etc/apt/sources.list.d/wheezy.list #set stable as default package source (currently jessie) echo "APT::Default-release \"stable\"; " > /etc/apt/apt.conf.d/10defaultRelease #set the priority for libsdl from wheezy higher then the jessie package echo "Package: libsdl1.2debian Pin: release n=jessie Pin-Priority: -10 Package: libsdl1.2debian Pin: release n=wheezy Pin-Priority: 900 " > /etc/apt/preferences.d/libsdl #install apt-get update apt-get -y --force-yes install libsdl1.2debian/wheezy |
Before you follow these steps: If you read this quite a while after March 2017 (when I wrote these lines), it may be worth a try without the downgrade. Maybe the bugfix is there by then.
Accessing the screen with pygame
Install pygame:
|
1 |
sudo apt-get install python-pygame |
Run the steps above for linking and tslib, including calibration if the display is rotated.
And here’s some sample code, inspired by Jeremy’s Blog (recommended to read for more touchscreen/GUI inspirations):
|
1 2 3 4 5 6 7 8 9 10 11 12 13 14 15 16 17 18 19 20 21 22 23 24 25 26 27 28 29 30 31 32 33 34 35 36 37 38 |
import pygame, time, os, logging # Set environment variables for correct use of touchscreen os.putenv('SDL_VIDEODRIVER', 'fbcon') os.putenv('SDL_FBDEV', '/dev/fb1') os.putenv('SDL_MOUSEDRV', 'TSLIB') os.putenv('SDL_MOUSEDEV', '/dev/input/touchscreen') # Init logs logging.basicConfig(filename='test.log',level=logging.DEBUG) # Init the pygame library and the display pygame.init() pygame.display.init() DisplaySize = (pygame.display.Info().current_w, pygame.display.Info().current_h) # Log the detected display size logging.info(DisplaySize) # Open fullscreen window MainDisplay = pygame.display.set_mode(DisplaySize, pygame.NOFRAME) while True: # Wait for touchscreen touch events, until a keyboard key is pressed for event in pygame.event.get(): if (event.type is pygame.MOUSEBUTTONDOWN): # Get touch position and write to log pos = pygame.mouse.get_pos() logging.info(pos) elif (event.type is pygame.MOUSEBUTTONUP): # Get finger lift position and write to log pos = pygame.mouse.get_pos() logging.info(pos) elif (event.type is pygame.KEYDOWN): # Key pressed --> End program quit() time.sleep(0.1) |
A vanilla Raspian install does not have the 99-fbturbo.conf file by default; you can get it with
Or try this: (my edited version)
Thanks for this – don’t remember that this was necessary, but sometimes I forget setup steps I did much earlier for other reasons…
– Hauke